  • Albania

    Albania

    (ALL L)

  • Algeria

    Algeria

    (DZD د.ج)

  • Andorra

    Andorra

    (EUR €)

  • Angola

    Angola

    (USD $)

  • Anguilla

    Anguilla

    (XCD $)

  • Antigua & Barbuda

    Antigua & Barbuda

    (XCD $)

  • Argentina

    Argentina

    (USD $)

  • Armenia

    Armenia

    (AMD դր.)

  • Aruba

    Aruba

    (AWG ƒ)

  • Australia

    Australia

    (AUD $)

  • Austria

    Austria

    (EUR €)

  • Azerbaijan

    Azerbaijan

    (AZN ₼)

  • Bahamas

    Bahamas

    (BSD $)

  • Bahrain

    Bahrain

    (USD $)

  • Bangladesh

    Bangladesh

    (BDT ৳)

  • Barbados

    Barbados

    (BBD $)

  • Belgium

    Belgium

    (EUR €)

  • Belize

    Belize

    (BZD $)

  • Benin

    Benin

    (XOF Fr)

  • Bermuda

    Bermuda

    (USD $)

  • Bhutan

    Bhutan

    (USD $)

  • Bolivia

    Bolivia

    (BOB Bs.)

  • Bosnia & Herzegovina

    Bosnia & Herzegovina

    (BAM КМ)

  • Botswana

    Botswana

    (BWP P)

  • Brazil

    Brazil

    (USD $)

  • British Virgin Islands

    British Virgin Islands

    (USD $)

  • Brunei

    Brunei

    (BND $)

  • Bulgaria

    Bulgaria

    (BGN лв.)

  • Burkina Faso

    Burkina Faso

    (XOF Fr)

  • Burundi

    Burundi

    (BIF Fr)

  • Cambodia

    Cambodia

    (KHR ៛)

  • Cameroon

    Cameroon

    (XAF Fr)

  • Canada

    Canada

    (CAD $)

  • Cape Verde

    Cape Verde

    (CVE $)

  • Caribbean Netherlands

    Caribbean Netherlands

    (USD $)

  • Cayman Islands

    Cayman Islands

    (KYD $)

  • Chad

    Chad

    (XAF Fr)

  • Chile

    Chile

    (USD $)

  • China

    China

    (CNY ¥)

  • Colombia

    Colombia

    (USD $)

  • Comoros

    Comoros

    (KMF Fr)

  • Cook Islands

    Cook Islands

    (NZD $)

  • Costa Rica

    Costa Rica

    (CRC ₡)

  • Croatia

    Croatia

    (EUR €)

  • Curaçao

    Curaçao

    (ANG ƒ)

  • Cyprus

    Cyprus

    (EUR €)

  • Czechia

    Czechia

    (CZK Kč)

  • Denmark

    Denmark

    (DKK kr.)

  • Djibouti

    Djibouti

    (DJF Fdj)

  • Dominica

    Dominica

    (XCD $)

  • Dominican Republic

    Dominican Republic

    (DOP $)

  • Ecuador

    Ecuador

    (USD $)

  • Egypt

    Egypt

    (EGP ج.م)

  • El Salvador

    El Salvador

    (USD $)

  • Equatorial Guinea

    Equatorial Guinea

    (XAF Fr)

  • Estonia

    Estonia

    (EUR €)

  • Eswatini

    Eswatini

    (USD $)

  • Ethiopia

    Ethiopia

    (ETB Br)

  • Falkland Islands

    Falkland Islands

    (FKP £)

  • Faroe Islands

    Faroe Islands

    (DKK kr.)

  • Fiji

    Fiji

    (FJD $)

  • Finland

    Finland

    (EUR €)

  • France

    France

    (EUR €)

  • French Guiana

    French Guiana

    (EUR €)

  • French Polynesia

    French Polynesia

    (XPF Fr)

  • Gabon

    Gabon

    (XOF Fr)

  • Gambia

    Gambia

    (GMD D)

  • Georgia

    Georgia

    (USD $)

  • Germany

    Germany

    (EUR €)

  • Ghana

    Ghana

    (USD $)

  • Gibraltar

    Gibraltar

    (GBP £)

  • Greece

    Greece

    (EUR €)

  • Greenland

    Greenland

    (DKK kr.)

  • Grenada

    Grenada

    (XCD $)

  • Guadeloupe

    Guadeloupe

    (EUR €)

  • Guatemala

    Guatemala

    (GTQ Q)

  • Guernsey

    Guernsey

    (GBP £)

  • Guinea

    Guinea

    (GNF Fr)

  • Guinea-Bissau

    Guinea-Bissau

    (XOF Fr)

  • Guyana

    Guyana

    (GYD $)

  • Haiti

    Haiti

    (USD $)

  • Honduras

    Honduras

    (HNL L)

  • Hong Kong SAR

    Hong Kong SAR

    (HKD $)

  • Hungary

    Hungary

    (HUF Ft)

  • Iceland

    Iceland

    (ISK kr)

  • India

    India

    (INR ₹)

  • Indonesia

    Indonesia

    (IDR Rp)

  • Ireland

    Ireland

    (EUR €)

  • Israel

    Israel

    (ILS ₪)

  • Italy

    Italy

    (EUR €)

  • Jamaica

    Jamaica

    (JMD $)

  • Japan

    Japan

    (JPY ¥)

  • Jersey

    Jersey

    (USD $)

  • Jordan

    Jordan

    (USD $)

  • Kazakhstan

    Kazakhstan

    (KZT 〒)

  • Kenya

    Kenya

    (KES KSh)

  • Kiribati

    Kiribati

    (USD $)

  • Kuwait

    Kuwait

    (USD $)

  • Kyrgyzstan

    Kyrgyzstan

    (KGS som)

  • Laos

    Laos

    (LAK ₭)

  • Latvia

    Latvia

    (EUR €)

  • Lesotho

    Lesotho

    (USD $)

  • Liechtenstein

    Liechtenstein

    (CHF CHF)

  • Lithuania

    Lithuania

    (EUR €)

  • Luxembourg

    Luxembourg

    (EUR €)

  • Macao SAR

    Macao SAR

    (MOP P)

  • Madagascar

    Madagascar

    (USD $)

  • Malawi

    Malawi

    (MWK MK)

  • Malaysia

    Malaysia

    (MYR RM)

  • Maldives

    Maldives

    (MVR MVR)

  • Malta

    Malta

    (EUR €)

  • Martinique

    Martinique

    (EUR €)

  • Mauritania

    Mauritania

    (USD $)

  • Mauritius

    Mauritius

    (MUR ₨)

  • Mayotte

    Mayotte

    (EUR €)

  • Mexico

    Mexico

    (USD $)

  • Moldova

    Moldova

    (MDL L)

  • Monaco

    Monaco

    (EUR €)

  • Mongolia

    Mongolia

    (MNT ₮)

  • Montenegro

    Montenegro

    (EUR €)

  • Montserrat

    Montserrat

    (XCD $)

  • Morocco

    Morocco

    (MAD د.م.)

  • Mozambique

    Mozambique

    (USD $)

  • Namibia

    Namibia

    (USD $)

  • Nauru

    Nauru

    (AUD $)

  • Nepal

    Nepal

    (NPR ₨)

  • Netherlands

    Netherlands

    (EUR €)

  • New Caledonia

    New Caledonia

    (XPF Fr)

  • New Zealand

    New Zealand

    (NZD $)

  • Nicaragua

    Nicaragua

    (NIO C$)

  • Nigeria

    Nigeria

    (NGN ₦)

  • Niue

    Niue

    (NZD $)

  • North Macedonia

    North Macedonia

    (MKD ден)

  • Norway

    Norway

    (USD $)

  • Oman

    Oman

    (USD $)

  • Pakistan

    Pakistan

    (PKR ₨)

  • Panama

    Panama

    (USD $)

  • Papua New Guinea

    Papua New Guinea

    (PGK K)

  • Paraguay

    Paraguay

    (PYG ₲)

  • Peru

    Peru

    (PEN S/.)

  • Philippines

    Philippines

    (PHP ₱)

  • Poland

    Poland

    (PLN zł)

  • Portugal

    Portugal

    (EUR €)

  • Qatar

    Qatar

    (QAR ر.ق)

  • Réunion

    Réunion

    (EUR €)

  • Romania

    Romania

    (RON Lei)

  • Rwanda

    Rwanda

    (RWF FRw)

  • Samoa

    Samoa

    (WST T)

  • San Marino

    San Marino

    (EUR €)

  • São Tomé & Príncipe

    São Tomé & Príncipe

    (STD Db)

  • Saudi Arabia

    Saudi Arabia

    (SAR ر.س)

  • Senegal

    Senegal

    (XOF Fr)

  • Serbia

    Serbia

    (RSD РСД)

  • Seychelles

    Seychelles

    (USD $)

  • Sierra Leone

    Sierra Leone

    (SLL Le)

  • Singapore

    Singapore

    (SGD $)

  • Slovakia

    Slovakia

    (EUR €)

  • Slovenia

    Slovenia

    (EUR €)

  • Solomon Islands

    Solomon Islands

    (SBD $)

  • South Africa

    South Africa

    (USD $)

  • South Korea

    South Korea

    (KRW ₩)

  • Spain

    Spain

    (EUR €)

  • Sri Lanka

    Sri Lanka

    (LKR ₨)

  • St. Barthélemy

    St. Barthélemy

    (EUR €)

  • St. Helena

    St. Helena

    (SHP £)

  • St. Kitts & Nevis

    St. Kitts & Nevis

    (XCD $)

  • St. Lucia

    St. Lucia

    (XCD $)

  • St. Martin

    St. Martin

    (EUR €)

  • St. Vincent & Grenadines

    St. Vincent & Grenadines

    (XCD $)

  • Suriname

    Suriname

    (USD $)

  • Sweden

    Sweden

    (SEK kr)

  • Switzerland

    Switzerland

    (CHF CHF)

  • Taiwan

    Taiwan

    (TWD $)

  • Tanzania

    Tanzania

    (TZS Sh)

  • Thailand

    Thailand

    (THB ฿)

  • Timor-Leste

    Timor-Leste

    (USD $)

  • Togo

    Togo

    (XOF Fr)

  • Tonga

    Tonga

    (TOP T$)

  • Trinidad & Tobago

    Trinidad & Tobago

    (TTD $)

  • Tunisia

    Tunisia

    (USD $)

  • Türkiye

    Türkiye

    (USD $)

  • Turks & Caicos Islands

    Turks & Caicos Islands

    (USD $)

  • Tuvalu

    Tuvalu

    (AUD $)

  • Uganda

    Uganda

    (UGX USh)

  • United Arab Emirates

    United Arab Emirates

    (AED د.إ)

  • United Kingdom

    United Kingdom

    (GBP £)

  • United States

    United States

    (USD $)

  • Uruguay

    Uruguay

    (UYU $)

  • Uzbekistan

    Uzbekistan

    (UZS )

  • Vanuatu

    Vanuatu

    (VUV Vt)

  • Vietnam

    Vietnam

    (VND ₫)

  • Zambia

    Zambia

    (USD $)

The Art of the Three Board Quiver

The Art of the Three Board Quiver

A well-appointed Three Board Quiver can cover the average surfer’s basic needs for year-round surfing.  Any additional boards beyond the core three should be in pursuit of different or unique feelings under-foot. 

Here is how I—Dave—constructed my ideal Three Board Quiver...
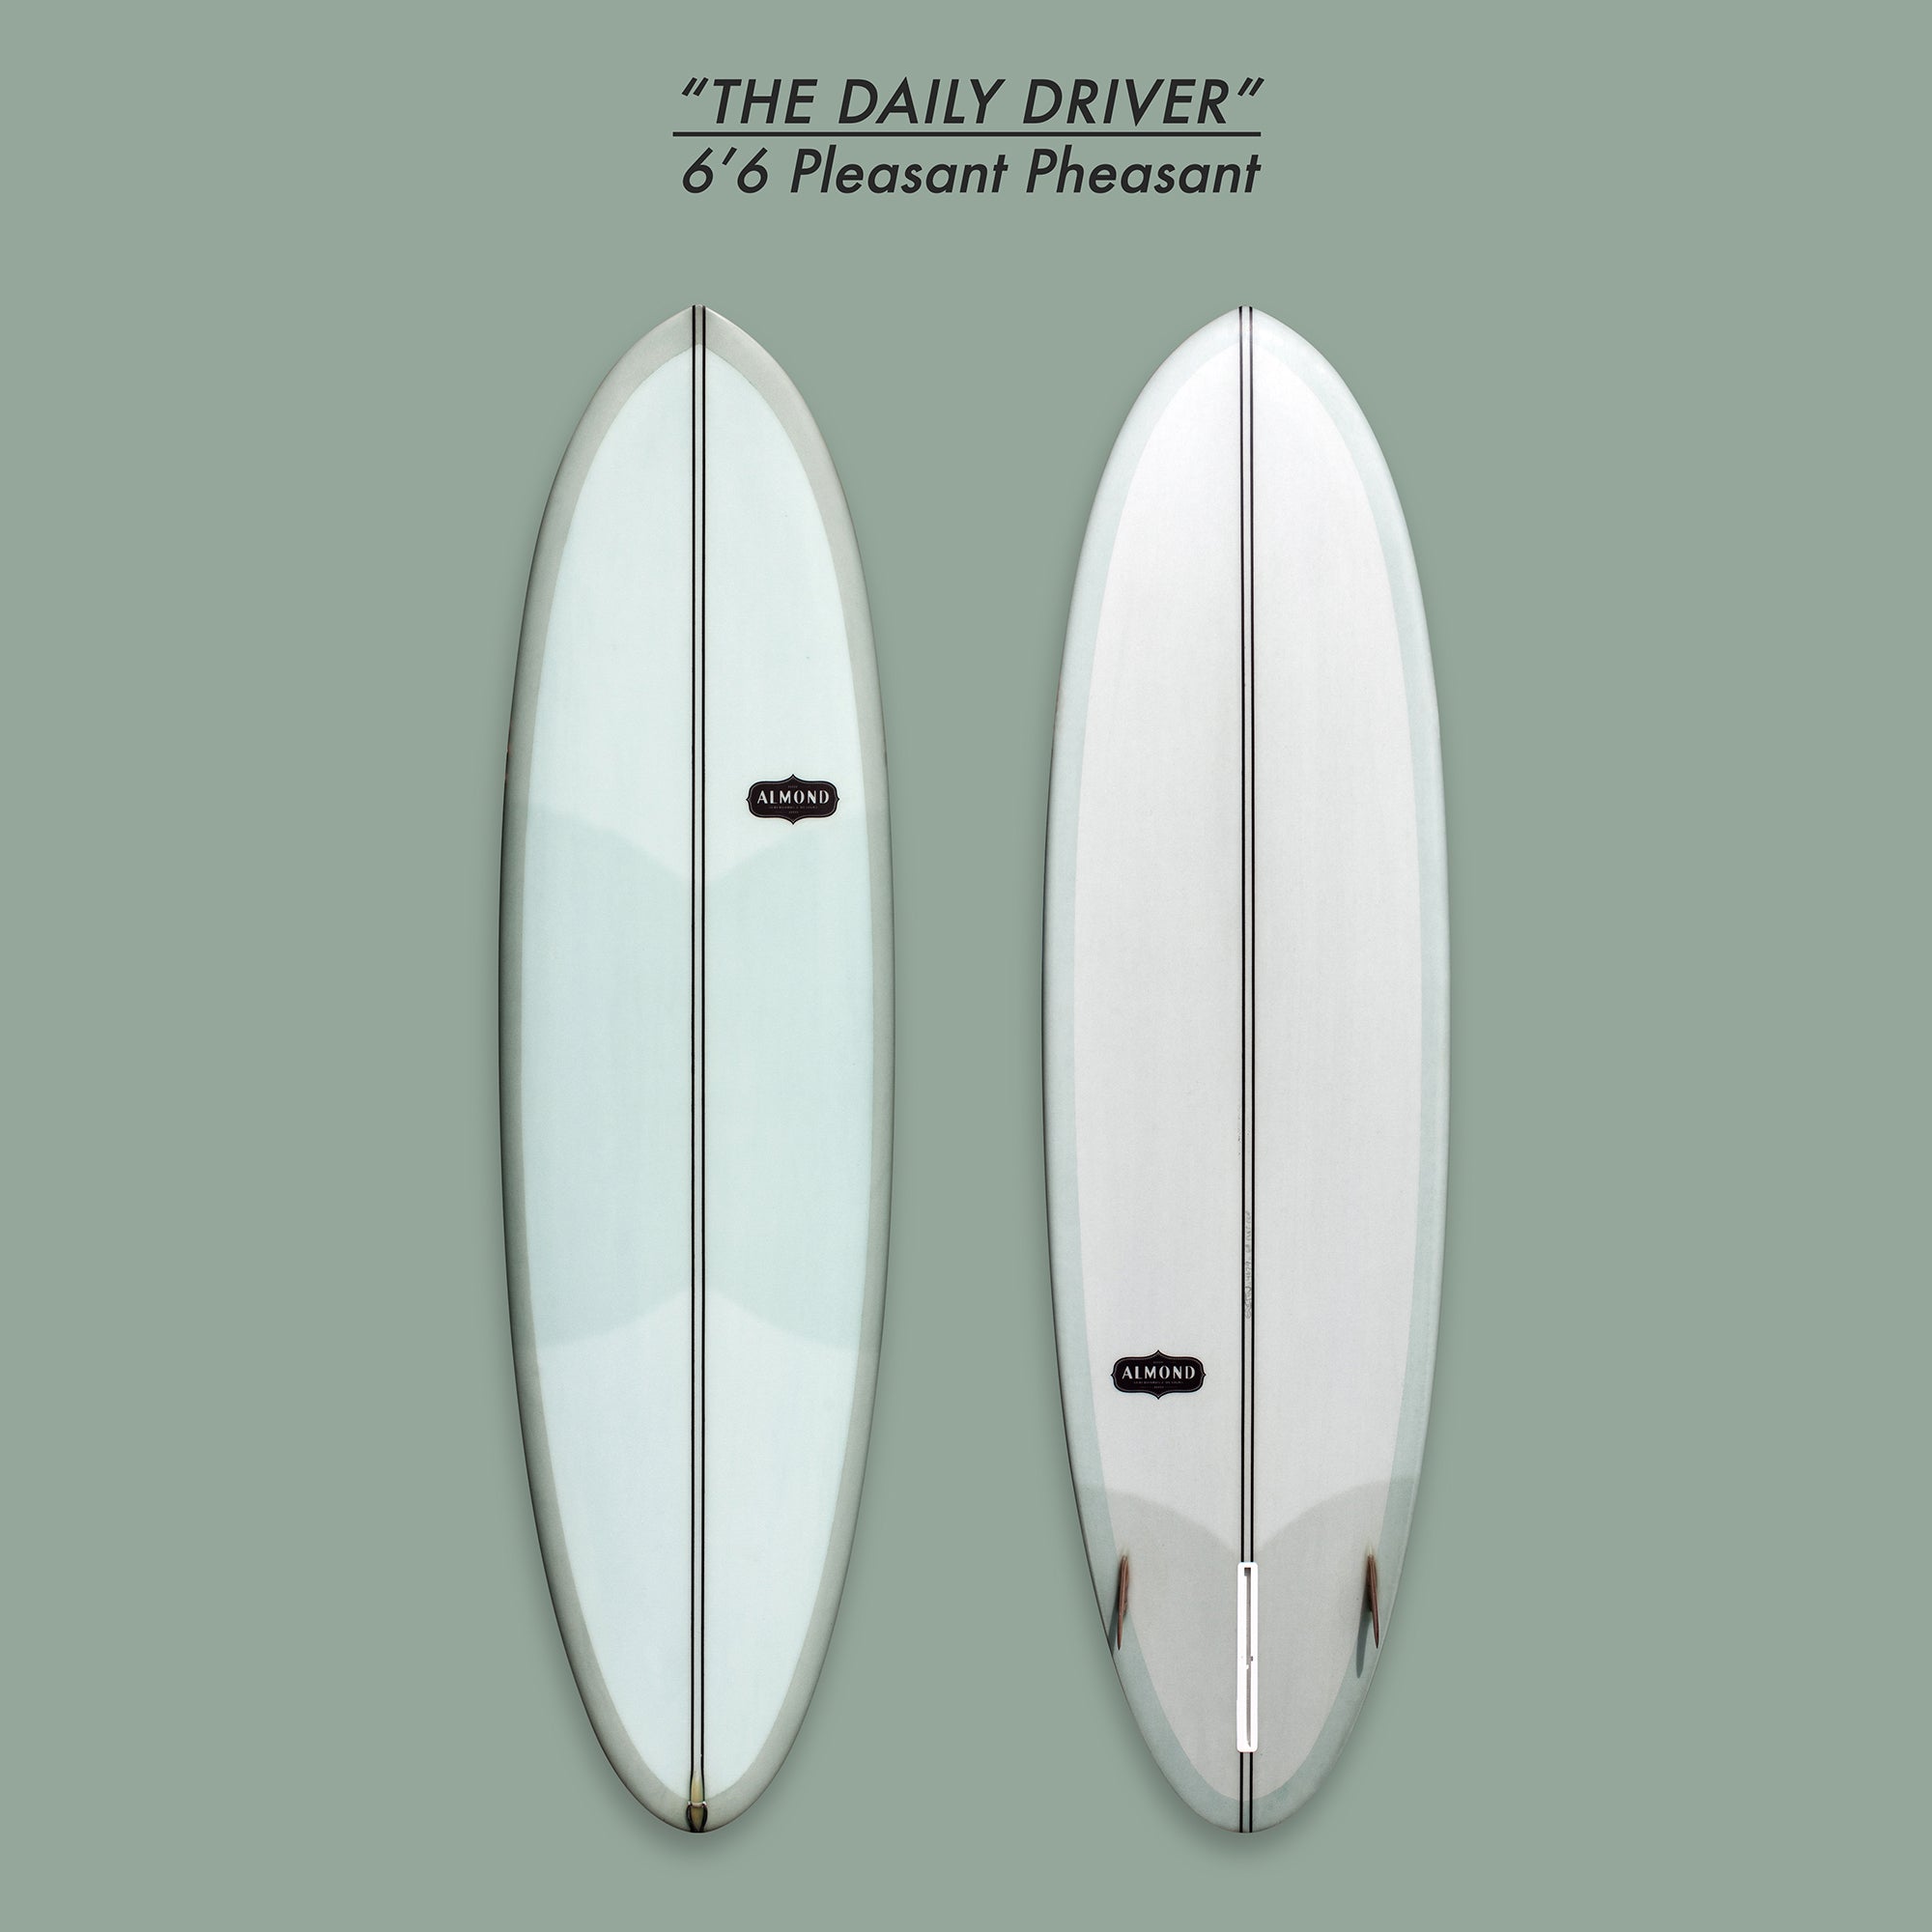
The “Daily Driver”
As the name suggests, this is the go-to board that you are most comfortable on.  It’s the board you should spend >50% of your time on. Getting a ton of reps on the same equipment will help your surfing progress faster.  You will have really great days on this board, where you feel invincible, and you will have really frustrating days on this board where you swear that you forgot how to surf.  It’s all part of surfing.  We’ve all been there–embrace it.  

The important thing is that your Daily Driver is well-matched to your surf level and the expected conditions that you will encounter regularly.

When I was in college, my Daily Driver was a 6’0” Round-Nosed Fish.  I surfed that thing day in and day out for years.  Eventually I surfed it into the ground... I squeezed every bit of life out of that board before finally retiring it.  But the benefit of spending so many sessions on the same board is it eliminated the variable of equipment from my surf routine.  

Eliminating the equipment variable means that you can focus on the other parts of surfing: reading the wave ahead of you and your approach.  I distinctly remember a conversation with my friend Thomas, and we were talking about the feeling you get when you are bottom-turning on a fish, and you find the perfect combination of loading the fin and the rail… and the board feels like it sling-shots out of the bottom turn.  I spent the entire next surf trying to perfect that feeling and that highly-efficient bottom turn.  Those are the moments that push your surfing forward, and those are the moments that are best achieved when you spend a lot of time on your go-to Daily Driver.

After the retirement of my 6’0 Fish, my Daily Driver became a 9’7 Surf Thump.  I spent most of the next decade riding longboards primarily, and filtering in other smaller stuff periodically.

These days, my Daily Driver is a 6’6 Pleasant Pheasant.  I assume that is the board I am going to grab unless the conditions clearly call for something else.  I’ve found that at this stage in my surfing career (if I can call it that) the 6’6 Pleasant Pheasant covers the majority of my needs and still allows me the satisfaction of a decent wave every now and again.  There are still plenty of “I must have forgotten how to surf” days sprinkled in, just in case I start feeling overly at home in the lineup. 

So, for the sake of this exercise of establishing a well-appointed Three Board Quiver, my selection for Daily Driver is the 6’6 Pleasant Pheasant.


The “Primary Compliment”:
The Primary Compliment to your Daily Driver should be a reflection of what your Daily Driver is, and the most glaring hole that it leaves in your quiver—based on expected conditions.

In my case, the 6’6 Pleasant Pheasant covers a wide range of conditions, but there are days when it’s just not enough board for how small the waves are.  That board can manage in pretty meager conditions, but at a certain point, you simply can’t replace length.  For year-round surfing in Southern California, a proper longboard is an invaluable tool; which is why the Primary Compliment to my Pleasant Pheasant is a 9’4 Surf Thump.  I have surfed every longboard model we make, and I have had extended flings with a few of them, but at the end of the day, I always find myself coming back to the Surf Thump. 

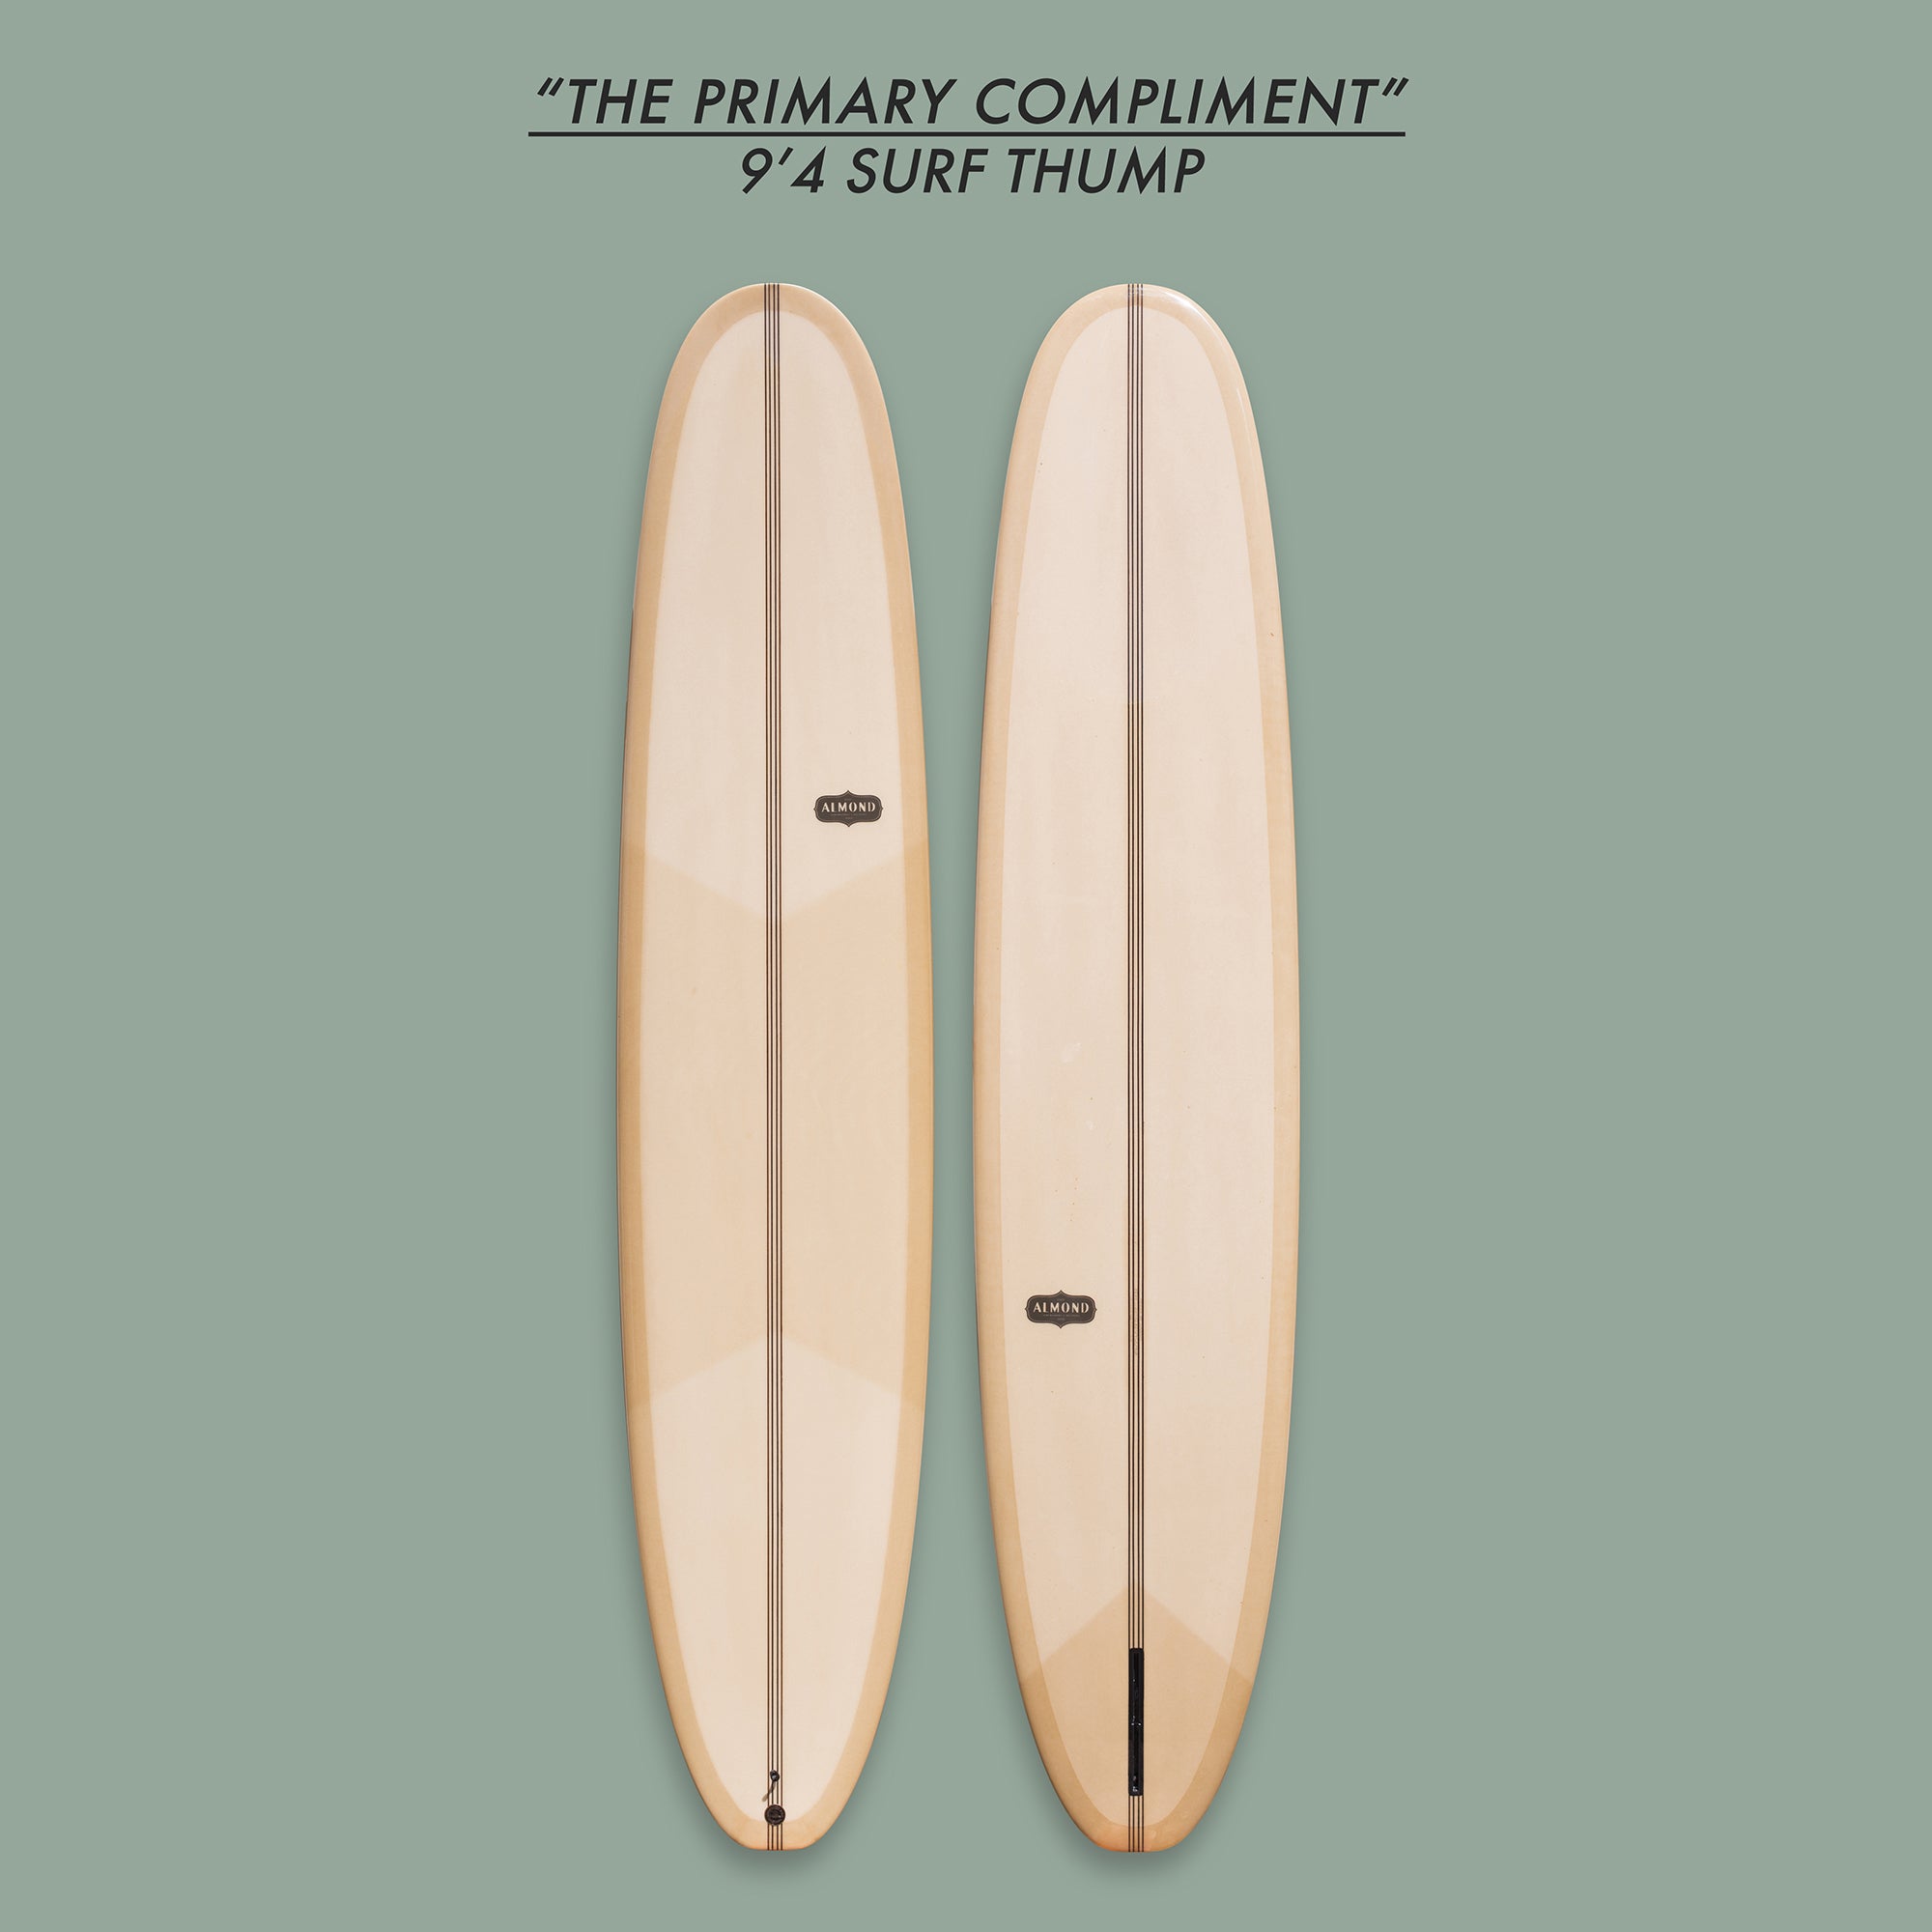
The 9’4 Surf Thump possesses everything I am looking for in a longboard, and ensures that my wave-count remains high. It’s familiar and comfortable, even when my fast-twitch cross-stepping muscles aren’t in tip-top shape. I will always have a longboard in my Three Board Quiver, and for the foreseeable future the Surf Thump fits the bill.

The “When the Situation Calls For It”:
The third part of your quiver is more of a niche answer to less common conditions or circumstances. That could be a number of things—waves get big at home, when you are doing a family beach day and want to push the kids into waves, or when you go on a trip and need to have that good-wave board ready. This board gets the least amount of run but is critically vital for that perfect situation.

With a mid-sized Daily Driver and a longboard Primary Compliment already in my quiver, I go small with my third board.  When the waves are playful and peaky and the mood strikes, it is really, really fun to be on a small, skatey board.  For that reason my “When the Situation Calls for It” board is the 5’4 Secret Menu. The one I keep is actually the one Griffin shaped that we based the R-Series off of—so it has sentimental value, as well as a fun addition to my quiver when a small board is the way to go.

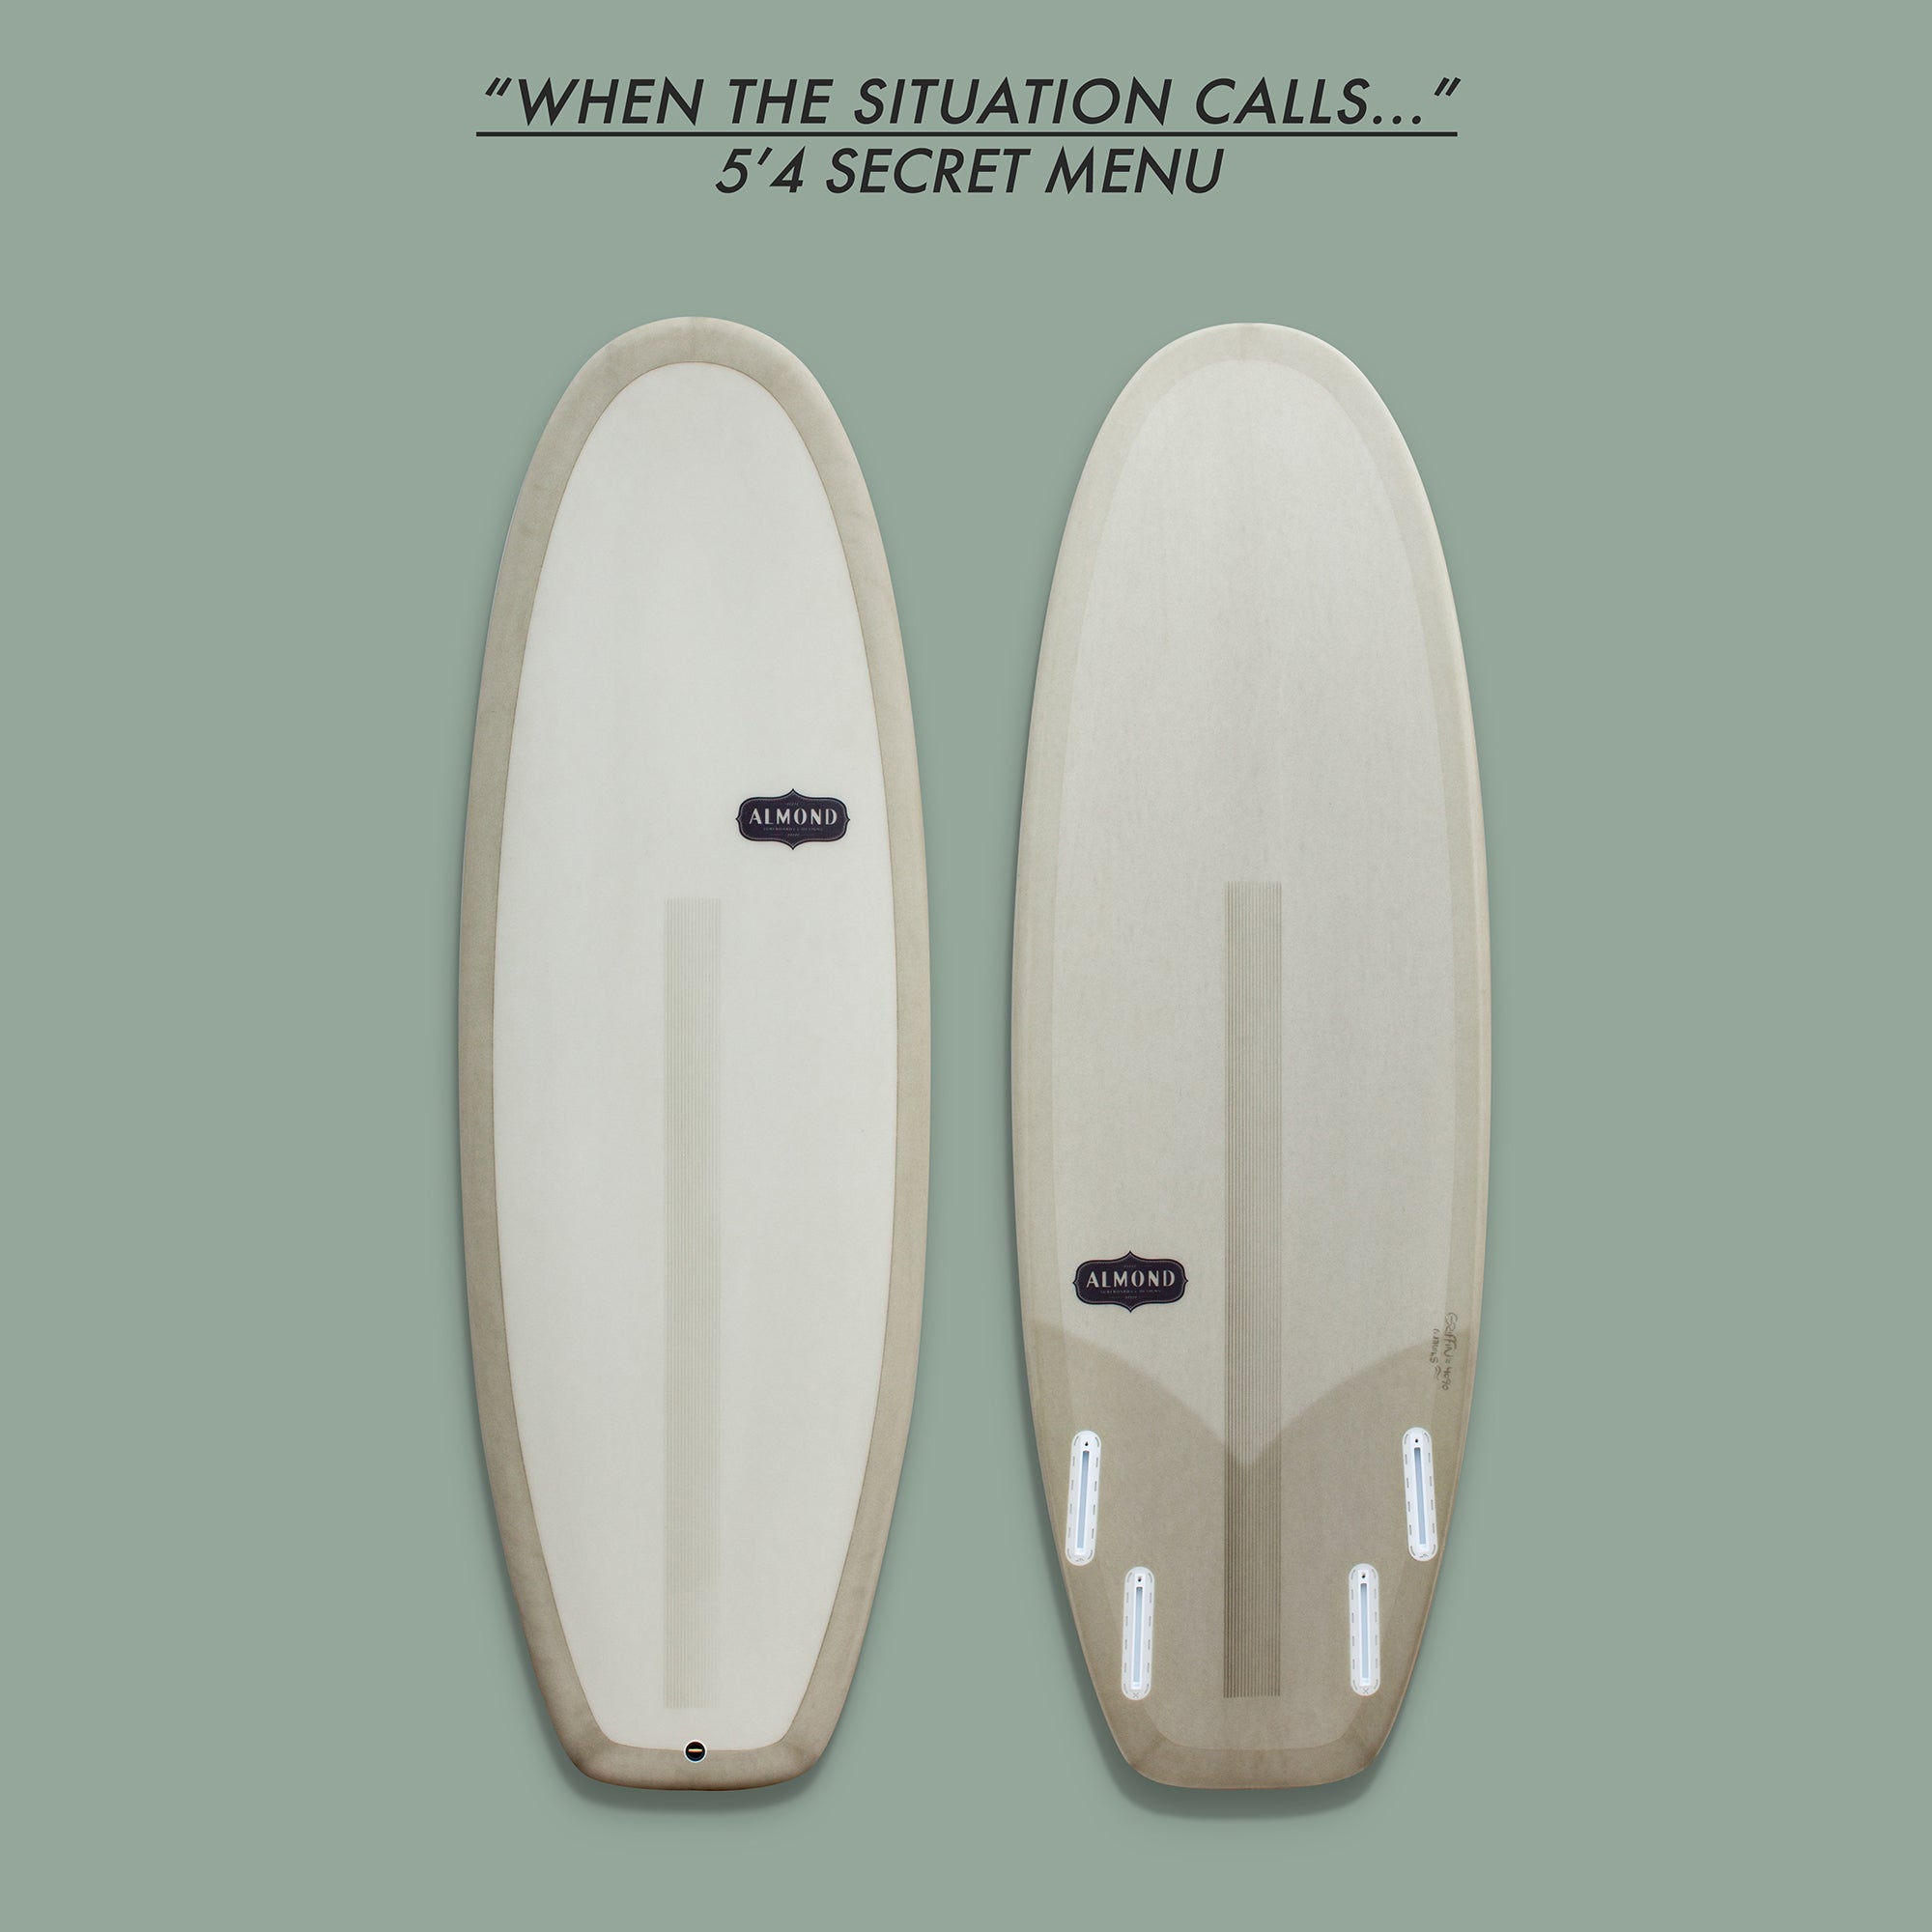
When there is a chest-high combo swell, you can bet that I am reaching for my 5’4 Menu.

What is your ideal 3 Board Almond Quiver, with these three categories as your guide:

Your Daily Driver: _______________________

Your Primary Compliment: _____________________

Your “When the Situation..” : ________________________

(we want to hear your ideal Almond Quiver)

>> Let us know <<